How-To Guides
This section of the documentation provides a series of simple how-to guides on common tasks and workflows when using SWAT. If you have a question that is not answered here, please start a discussion on the topic in SWAT’s discussion forums
Add Dependencies
Navigate to SWAT Directory: Use
cdto get to SWAT’s directory.Add Dependency: Use
poetry add <package-name>for new dependencies.Update Dependencies: Keep dependencies current with
poetry update.
Create Application Credentials
Navigate to Google Cloud Console.
Create Credentials: Click Create Credentials and select OAuth Client ID.
Select Desktop App for Application Type and click Create.
Download Credentials: Click the download icon to download the credentials file.
If not done already, setup the consent screen by clicking OAuth consent screen.
Name the application SWAT, add your gmail as the User Support Email and developer contact information and click Save.
For Assistance: Consult Google’s docs for OAuth or Service Accounts.
Authenticate
Authentication and authorization in SWAT leverages a custom CredentialStore dataclass that holds OAuth, Service Account, and API credentials loaded from local files. It is also used to authenticate and authorize with these credentials to Google Workspace APIs. The Credential Store is a singleton object that is instantiated once and can be accessed from anywhere in the codebase. This allows for a single authentication and authorization workflow to be used across all commands and emulations.
By default, SWAT will save the CredentialStore to a local file named .cred_store.pkl in /etc. This can be changed by setting save_on_exit to False within the config.yaml file for SWAT. If the credential store file does not exist, it will be created when credentials are added or a session is stored. If the file does exist, it will be loaded into the CredentialStore object and can be used for authentication and authorization. This allows for a persistent credential store with saved credentials and sessions to be used in SWAT when needed without the need to re-authenticate and authorize.
Specific Authentication Steps
As stated, either service account, OAuth, or API credentials will be required from GCP. Once these credentials are saved locally, they can be leveraged by SWAT for interacting with Google Workspace APIs. If you have not already, please review the Authentication and Authorization section above.
If your still unsure of what credentials to use or how to authenticate, please review the authentication and authorization guide.
OAuth
For most of the SWAT commands and emulations, a single OAuth validated session with the key default in the Credential Store is required. This is to ensure the authorization workflow requires consent and acknowledge from the SWAT user and SWAT does not become an off-the-shelf tool for unethical purposes. If credentials are stored, the following commands can be used to get authenticated, authorized and store the session.
Run
auth list- There should be no active sessions available, unless your credential store has been loaded from previous sessionRun
creds list- There should be no saved credentials, unless your credential store has been loaded from a previous session- Run
auth session --store default --creds PATH_TO_CREDS- where default is the key in the credential store for these creds and session This can also be used to store credentials, authenticate/authorize and store the session in the Credential Store at once. So if you want to bypass steps 1 and 2, you can run
auth session --store default --creds PATH_TO_CREDS.
- Run
Follow the Google Workspace OAuth prompt and consent screen with a valid account.

Once authenticated and authorized you should see a 🔑 👤 combination next to your shell prompt. If you run any of the list commands as previously done, you should see your creds and active session stored in the credential store. From here on out, you should be able to interact with Google Workspace APIs via emulations or other commands within SWAT, depending on your privileges and permissions of that account.
Service Accounts
Service accounts are a way to programmatically interact with APIs, typically for backend purposes. Regarding Google Workspace, GCP and SWAT, they allow us to interact with APIs without human interaction for the OAuth workflow, thus allowing the workflow to be purely programmatic. However, SWAT allows for service accounts to be used during emulations to avoid excessive OAuth consent screen requirements if multiple users are used in an emulation. The following workflow can be used to add service account credentials, authenticate and use them in an emulation.
If not done already, domain-wide delegation must be enabled and setup for this service account. This is required to impersonate users in the domain and make API calls on their behalf. For more information on domain-wide delegation, please visit Google’s Delegating Authority documentation. This will require you to first do the following:
Create a service account in the Google Cloud Console.
Assign the service account a role of Project Owner or a custom role of choice.
Enable Domain-wide Delegation for the service account in Google Workspace’s Admin Console.
Specify the OAuth scopes for the service account in the Admin Console. For SWAT, OOTB emulation scopes required can be found in /etc/config.yaml.
Authorize the service account in the Admin Console to access the APIs you want to use. For SWAT, this will be the Google Workspace APIs you want to interact with.
Once complete, you may continue to the following workflows, however be aware that if scopes need to be adjusted, they must be adjusted based on the IAM role assigned and within the domain-wide delegation settings in the Admin Console.
Workflow #1
- Acquire Service Account Credentials:
From the Google Cloud Console, navigate to the service account you want to use and click Add Key.
Select JSON and click Create. This will download the service account credentials to your local machine.
You can also create a new service account in the console and assign access to users whom this service account will make API calls on behalf of.
Authenticate and Authorized: Run
auth session --store-key KEYNAME --creds PATH_TO_CREDS --service-accountRun
auth listto check that session is savedRun
creds listto ensure creds are savedWithin your emulation, pass your session from the credential store to build your service in the initialization method
self.service = build('drive', 'v3', credentials=self.obj.cred_store.store['KEYNAME'].session)
Your self.service will now be active and authenticated and can be used anywhere within your emulation. Additionally, if you have multiple service accounts, you can repeat this workflow to add multiple service accounts to the credential store and use them in your emulations.
Workflow #2
- Acquire Service Account Credentials:
From the Google Cloud Console, navigate to the service account you want to use and click Add Key.
Select JSON and click Create. This will download the service account credentials to your local machine.
Run
creds add KEYNAME PATH_TO_CREDS --service-accountRun
creds listto check if the credentials have been stored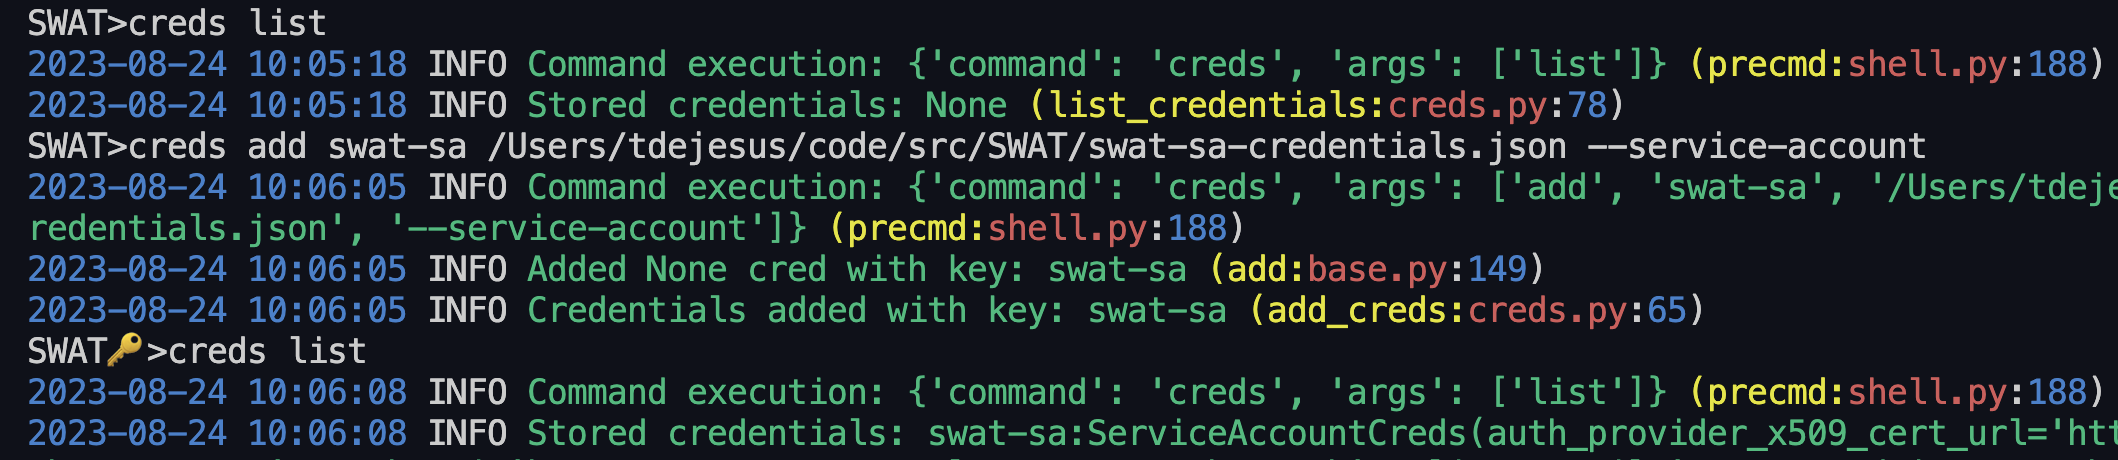
4. Run auth session --key KEYNAME --store-key KEYNAME --service-account
6. Build your service in the initialization method of the emulation: self.service = build('drive', 'v3', credentials=self.obj.cred_store.store['KEYNAME'].session

Your self.service will now be active and authenticated and can be used anywhere within your emulation. Again, you can repeat this workflow to add multiple service accounts to the credential store and use them in your emulations.
Commands
Using Commands Steps
List Available Commands:
help. - This will list all available commands in SWAT.Run a Command:
COMMAND_NAME. - This will run the command with default options.Run Command Help:
help COMMAND_NAME(or withSUB_COMMAND). - This will show the help menu for the command and subcommands.
Adding Commands Steps
Create Command File: Follow the example below.
To add a command, drop a .py file into swat/commands/. Every command file must include the following:
Command(BaseCommand)- Required class that inherits fromBaseCommandparser = BaseCommand.load_parser(description='COMMAND_DESCRIPTION')- argparse parser__init__(self, **kwargs)- instantiation method that callssuper().__init__(**kwargs)andself.args = validate_args(self.parser, self.args)execute(self)- method that executes the command
Below is example code of a basic command file:
 class Command(BaseCommand):

     parser = BaseCommand.load_parser(description='SWAT New Command')
     parser.add_argument('--argument', help='new command')

     def __init__(self, **kwargs) -> None:
         super().__init__(**kwargs)
         self.args = validate_args(self.parser, self.args)

     def execute(self):
         print("hello world") or self.args.func()
Test New Command: Start a new shell session and run
helpto see your new command. Then runhelp COMMAND_NAMEto see the help menu for your new command. Finally, runCOMMAND_NAMEto execute your new command.
For a deeper dive into the command workflow, please visit Adding a New Command.
Emulations
Using Emulations Steps
Check Available Emulations:
coverage vieworhelp emulate.Authenticate:
auth session --creds PATH_TO_CREDENTIALS_FILE --store-key NAME.Review Emulation Help:
help emulate EMULATION_NAME.Run Emulation:
emulate EMULATION_NAME ARGUMENTS.
Adding Emulations Steps
Review MITRE ATT&CK Mapping: Determine tactic and technique for emulation.
Determine Accounts Needed: Determine if a service account or OAuth credentials are needed or multiple accounts.
Authenicate and Authorize: Use
auth sessionto authenticate and authorize with credentials to store in the credential store and be used in emulations.Create Emulation Module: Follow the example below.
To add an emulation, drop a .py file into swat/emulations/TACTIC/. Every emulation file must include the following:
Emulation(BaseEmulation)- Required class that inherits fromBaseEmulationand containsBaseCommandobject.parser = BaseEmulation.load_parser(description='EMULATION_DESCRIPTION')- argparse parser__init__(self, **kwargs)- instantiation method that callssuper().__init__(**kwargs)andself.args = validate_args(self.parser, self.args)execute(self)- method that executes the emulation when called byemulatecommand
from googleapiclient.discovery import build
from swat.commands.auth import Command as AuthCommand
from swat.emulations.base_emulation import BaseEmulation

class Emulation(BaseEmulation):

    parser = BaseEmulation.load_parser(description='Account Manipulation: Additional Cloud Roles')
    parser.add_argument('--new-argument', required=True, help='new argument')

    techniques = ['T1098.003']

    def __init__(self, **kwargs) -> None:
        super().__init__(**kwargs)
        # for this example, we will not require authentication so we can execute the emulation
        #self.service = build('drive', 'v3', credentials=self.obj.cred_store.store['default'].session)

    def execute(self) -> None:
        self.elogger.info(self.exec_str(self.parser.description))
Implement Emulation: Add desired functionality.
Test Emulation: Start a new shell session and run
help emulateto see your new emulation. Then runhelp emulate EMULATION_NAMEto see the help menu for your new emulation. Finally, runemulate EMULATION_NAME ARGUMENTSto execute your new emulation.
As shown in the example emulation above, a service is necessary to interact with Google Workspace APIs. Each Google Workspace service has their own dedicated API in an available list. An active Credentials object or authentication/authorization session must be passed, which can be accessed from the credential store. For a deeper dive into an emulation workflow, please visit our emulations guide.
Audit Log Data
Run Audit Command: Use
auditwith flags and options as needed.
Example: audit token 15m or audit drive 1h --interactive
The audit command leverages the admin reports API to pull existing data. Therefore, this command is only available for those whom have access to the Google Workspace admin console.
Auditing requires a stored session in the credential store with the key name default. If you have not already, please review the Authentication and Authorization - OAuth section above.
An interactive mode can be set when auditing which gives users the freedom to splice their dataframe results by column and then expand a row of data that may be interesting. This provides a more interactive experience when auditing data but is not overly complex.

Explore ATT&CK Coverage
View ATT&CK Coverage:
coverage view.